A simple, portable gold ore sample processing method for the prospector
So you’ve gathered some promising looking ore and you’re ready to check it for gold. This post covers how to process gold ore samples by hand without the aid of motorized equipment. This setup can be easily taken with you on a weekend prospecting trip. Portable and fairly lightweight.
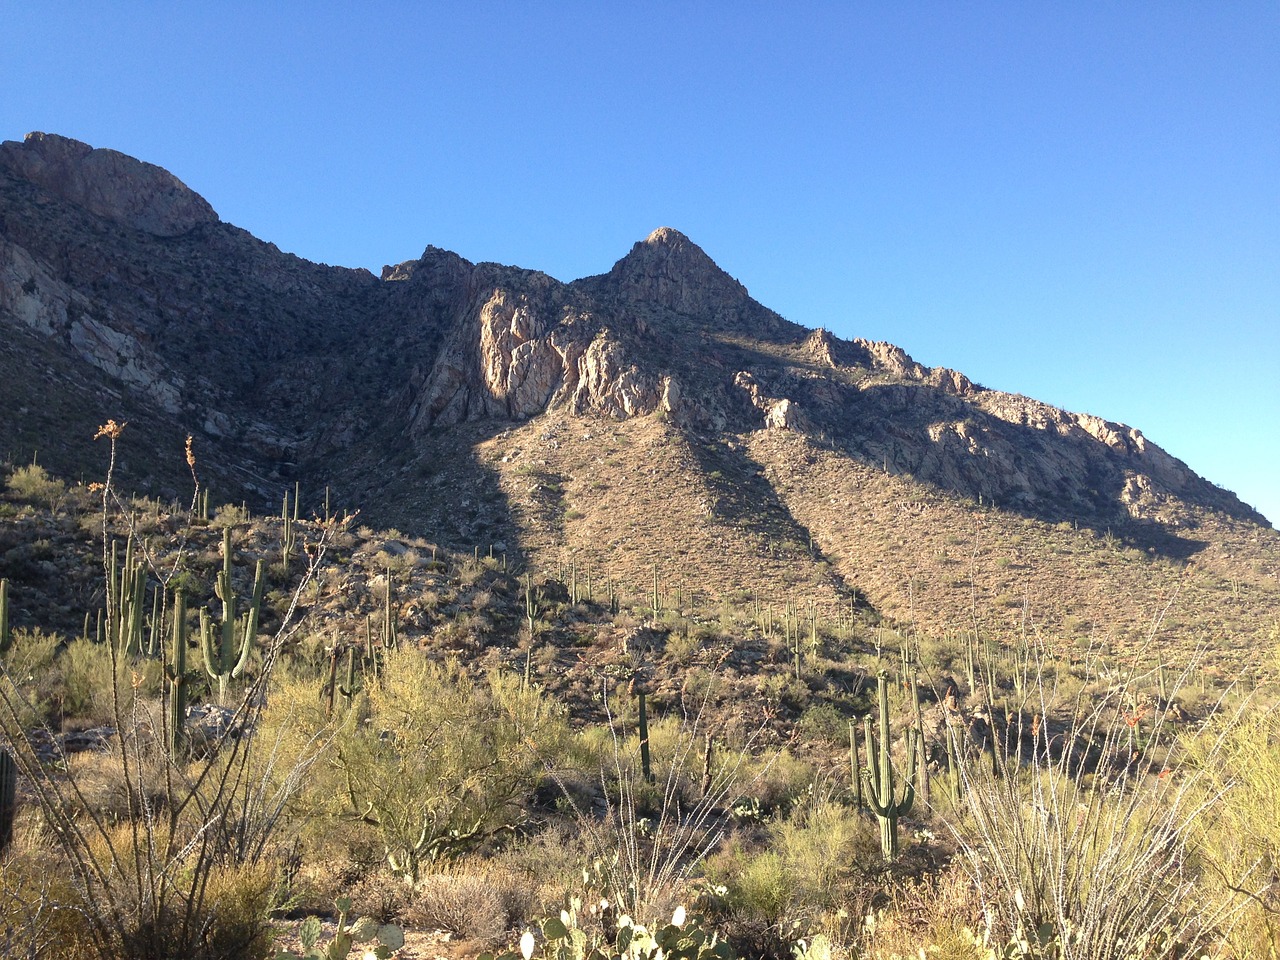
This method works well for higher grade free milling ores with a high iron oxide content and low or no sulfides. A lot of arid desert ores fit this criteria. (see: How to find gold – high grade gold ore). You will be able to process small samples of a few pounds or less this way, enough to let you know if you should go back for more rock, or move on.
Recommended basic gold ore sample processing equipment:
Primary rock crusher
Mortar and pestle, or, as the Aussie’s call it, a dolly pot. Simple to make if you have access to a set of cutting torches and a welder. Cut a 10 or 12 inch section of heavy iron pipe of 6 or 8 inch diameter. Ductile iron water line would be a good choice. Weld to a square steel base plate, Cut a length of an old car or truck axle, or just use a solid breaker bar to crush the rock. Voila! lifetime rock crusher.
Now you can reduce fist sized chunks of ore down as fine as you need. Most hard rock ore contains very fine gold, sometimes even micron sized. If it’s smaller than 2 or 300 mesh it may not be worth your time to try and set your mill up to recover it.
Depends on how much gold is in your ore, right? That’s what we are trying to figure out. Onward to…
Secondary rock crusher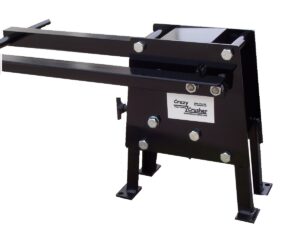
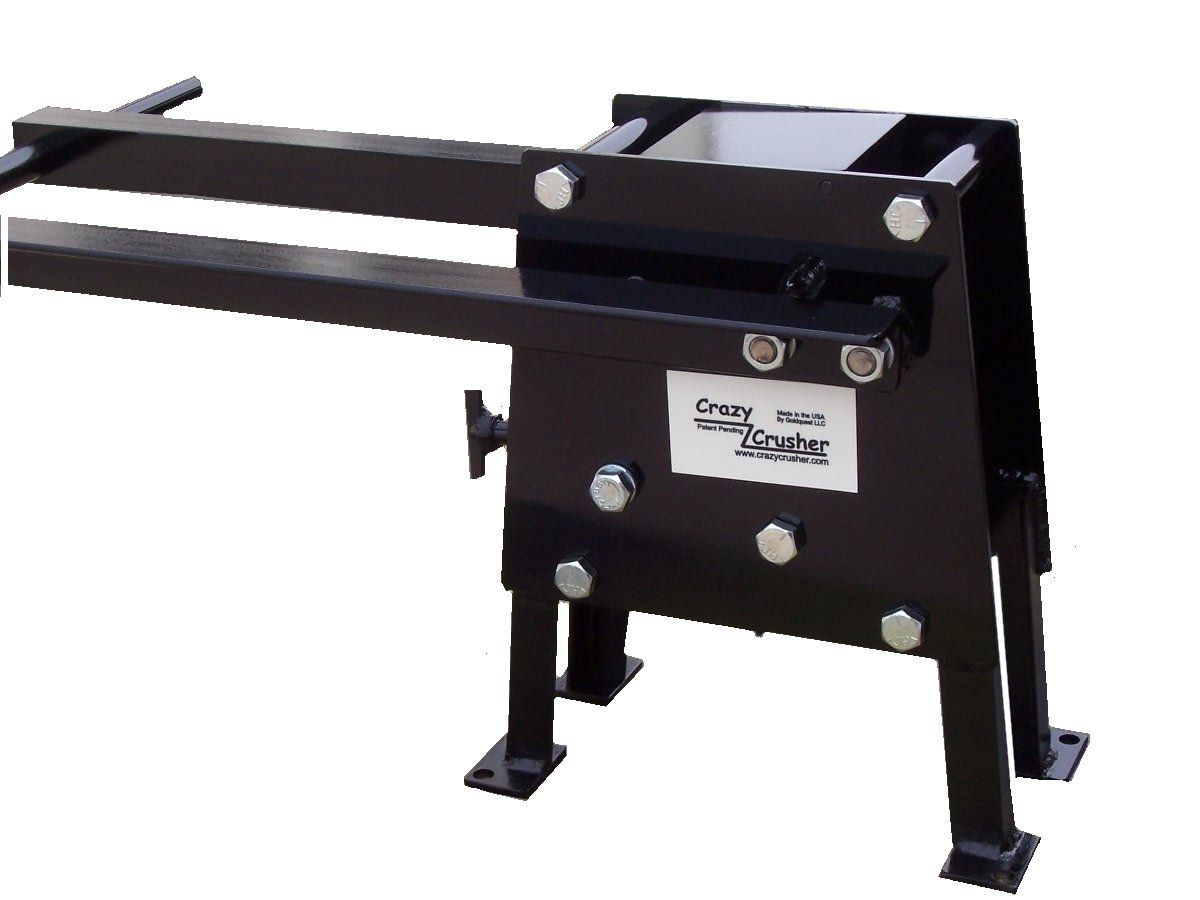
Hand operated jaw crusher. You can do all your ore reduction with the dolly pot, although it will take much time and effort. I prefer to use it to take the sample down to ¾ inch minus, a bit smaller if it’s tough quartz, and then into the jaw. I’ve owned one of these in the past and they work well for small amounts of ore. You can make a jaw crusher but it’s a bit involved. I would certainly consider buying one, they’re not cheap, but to my mind, money well spent. Here is one that looks capable.
Just make sure to mount it to a piece of 2 by 12 board long enough to stand on. The more solid the foundation, the less effort it takes to use. If it’s a 2×3 inch jaw, don’t feed it with 2×3 inch rock. Use ¾ inch and smaller. Again, less effort, and more throughput. It will probably take more than a couple of passes through the jaw to reduce your ore to an acceptable size. After each pass reduce the size of the outlet slot a bit. Which brings us to…
Screening and classifying crushed ore
A stacking set of fine mesh screens or sieves. You’re going to have to pick and choose to get the mesh sizes you want. I like the 8” brass sieves. I’ve had a full set with a cover and bottom pan for over 20 years with not one issue. Plus they will fit in a mechanical shaker (more on that in a future post).
Classification of gold ore is an important but often overlooked step. If carefully done, this step will tell you how fine you need to crush your ore to liberate, or “free” the majority of the gold from the enclosing matrix or gangue material. The more that you intend to process, the more important this step becomes.
For hand sampling you probably only need a 20, 80 and a 150 mesh screen opening (Tyler). In between jaw crusher passes shake the material through your screens. Crushed material that won’t shake through the 20 mesh screen (+20) should be crushed and screened again.
For whatever reason, you’re going to end up with a percentage that just won’t crush fine enough, that’s OK. Don’t waste a lot of time. Set it aside but check it later (or sooner), it may contain coarse gold. As a matter of fact if this is your first sample of a particular ore, you can crush and pan everything smaller than 20 mesh in one go. Just be very careful. If you see gold in your pan, then move to the classifying stage. OK, next and final step…
Gravity separation and concentration of gold
Simple last step, right? Yes and no. Yes, because you’re using a gold pan and no because you’re going to be using a panning technique that will take some time and patience. I use a green pan because fine gold seems to show up better than in a black one. I use a Garrett like the one above.
You should now have several different size fractions of screened and classified ore.
+20 mesh (larger than 20 mesh).
-20 +80 (smaller than 20 mesh but larger than 80 mesh),
-80 +150 (smaller than 80 mesh but larger than 150 mesh). You get the idea.
-150 (this fraction contains material smaller than 150 mesh down to micron and beyond).
Here are a few more items you will need to complete your sampling setup:
Digital postal scale to weigh your crushed and classified material. This one looks pretty good, and weighs 0.1 oz. increments up to 25 lbs.
Small digital scale or analytical balance that reads to 3 places. In other words 0.001 gram increments to weigh your gold. Consider a lab model for higher accuracy.
Heavy plastic ziplock style sample bags. Can be labeled with waypoint id, gps coordinates, mesh size, etc. Very important step, as soon as you have more than a few samples around, you will lose track if you don’t label properly. Don’t ask me how I know!
A good quality jeweler’s loupe or hand lens. Get a triplet, more expensive, but worth it BelOMO makes a good one, as does Nikon. Some people use a 20x power, I prefer the10x.
OK, let’s do some concentrating. Weigh an even amount of your crushed and classified ore. I usually start with the coarsest fraction and work each successively finer fraction, saving the -150 for last. Three pounds is a good amount, it’s not too much for one pan, and enough to end up with a weighable amount of gold (hopefully).If you don’t have three pounds, weigh what you have and use that number in your final calc’s.
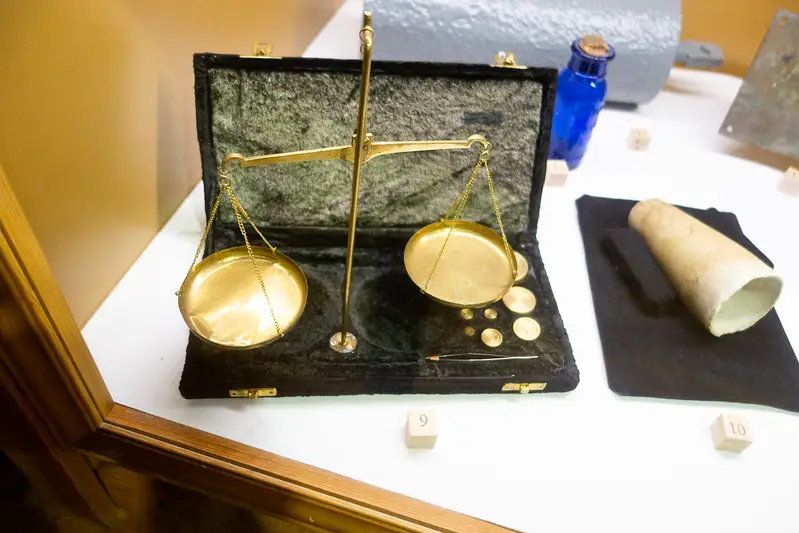
Old time beam balance by quinet CC BY 2.0
Fine gold panning technique
Put a few gallons of water in a low sided plastic bin, about 2×3 ft. and 8 or 10 inches deep. I use a concrete mixing tub like this. The tub keeps your work contained, you can always re-pan the tailings to see if you missed any gold. Add a squeeze of jet dry to the water, it acts as a surfactant, or “wetting agent” reducing water surface tension, because, yes that’s right, fine hard rock gold has a tendency to float away on the water surface.
Now submerge your pan and gently knead and break up the material. Float off the oxides, don’t pour them off. Bring up the pan of material and water and set it flat on a board that runs across the top of your wash bin. Now put one hand on each side of the pan at the 9 and 3 o’clock positions. Turn the pan back and forth quickly about 20 to 30 degrees, like turning a car steering wheel. Fast enough to unweight the material, but slow enough not to send water sloshing everywhere. Alternate between that motion and a back and forth motion, kind of like shaking a skillet. Away and towards you. Again, unweight don’t slosh.
Every so often rotate the pan 90 degrees and continue the steering wheel and skillet motions. Bump the edge of the pan with the heel of your hand every now and then. While using those motions, take a free hand (if you can find one) and push a finger through the material, making sure the material is a slurry and there are no packed layers or clumps. Alright, stop for a second. Let the material settle.Slowly pour the water off, being careful no material goes with it.
Now take a putty knife or a paint scraper and pull across the material, removing the top ½ inch or a bit less. Repeat this whole process several more times, keeping two things in mind. One, the lower your material level gets, the less force you will need to use. Two, The finer sized fractions will pack up easier, but once the material unweights, it will be harder to get the gold to stay on the bottom of the pan. The last half inch of material I leave in the pan. I then shake it into the corner and use the sweep and bump method to uncover the gold.
Each test should take 15 to 20 minutes. Longer at first, don’t worry, you will soon become proficient. Properly done, this method will concentrate down to about 600 mesh. If the gold is much finer than that, and the best concentrating table made wont be able to recover it anyway.
I don’t use a snuffer bottle to pick up the fine gold from the pan.Too much area for fine gold to disappear. I use a small insulin syringe with the needle assembly removed using a pair of pliers. Carefully draw water and your gold into the syringe.and in one fluid motion expel into a small glass dish, shot glass, old glass ashtray or what have you. Rinse the syringe and plunger into the same container. Draw off excess water, dry completely and weigh.
Now you are just a few simple calculations away from finding out how much recoverable gold is in your ore.
Weighing your gold and calculating grams or ounces per ton
OK, let’s just say that by panning your classified materials you find that about 85% of the gold is freed in the -20 to +80 fraction. You weighed out 3 pounds of that size and carefully concentrated 0,127 grams (a little over a tenth of a gram) of gold out of it. So…
0.127 divided by 3 = 0.0423 grams per lb.
0.0423 multiplied by 2000 = 84.66 grams per ton
84.66 divided by 31.1 = 2.72 troy ounces of gold per ton
You’re sure not going to make a lot of money processing a few pounds of ore at 0,0423g per lb. But what if you could run through say, 50 pounds a day or maybe 100, or 3 or 400 pounds in a weekend’s time? As I write this, gold is hovering close to $1,900 (kitco metals) an ounce. You do the math.
You’ve gained some valuable insights into your ore characteristics by using the above sampling method. You’ve learned that the gold is released at a fairly coarse grind. Although I didn’t mention it above, you’ve been able to estimate the amount of heavy sulfides, magnetite and other ferromagnesian minerals that are present. And of course, you have a good idea of the amount of gold that you can RECOVER from your ore.
Let’s say that you have fairly easy access to more of this material. You’ve done several more samples, and you are fairly confident that the gold values in your ore are consistent. Then you may be ready to bring a bit larger mill into the venture. See: (How to process large gold ore samples).
The above example 2.72 ounce per ton is of course hypothetical. That being said, I should add that I’ve never worked an ore that low in gold content. Sampled a lot that were way lower though. That’s the key, be patient, sample lots of different veins, and different areas within the same vein structure. See: How to find gold – high grade gold ore
Overview of basic gold ore sampling equipment (lightweight – hand powered – prospector)
1. Mortar and pestle : primary crushing tool
2. Hand operated jaw crusher: for fine crushing
3. Screens or sieves: to classify or size your crushed ore
4. Digital postal scale: to weigh your classified ore
5. Ziplock style sample bags: To keep your various ores and sizes organized
6. Gold pan: to separate and concentrate your gold
7. Concrete mixing tub: your panning station
8. Jet Dry: to “wet” the gold and reduce water surface tension
9. Small digital scale: to weigh your recovered gold
10. BelOMO jeweler’s loupe (good loupe, less expensive) or Nikon jeweler’s loupe (nice loupe, more expensive): to help distinguish gold from pyrites and other sulfides